When Hubby and I put the house up for sale we had to do a lot of staging. We had to pack stuff up and re-arrange everything else. It was fun but at the same time exhausting. One table ended up being taken apart and stored in the garage. And another table was put in its place because it went better with the color scheme of the room. Well. This table did go better with the color scheme, dark brown with black legs. But it was a table with deep crevices. Several rectangles as part of the design.
After a long time it just got gunked up with food and arts and crafts. There was no amount of scrubbing that could get all the gross junk out. You can almost see some of the gunk in the picture above.
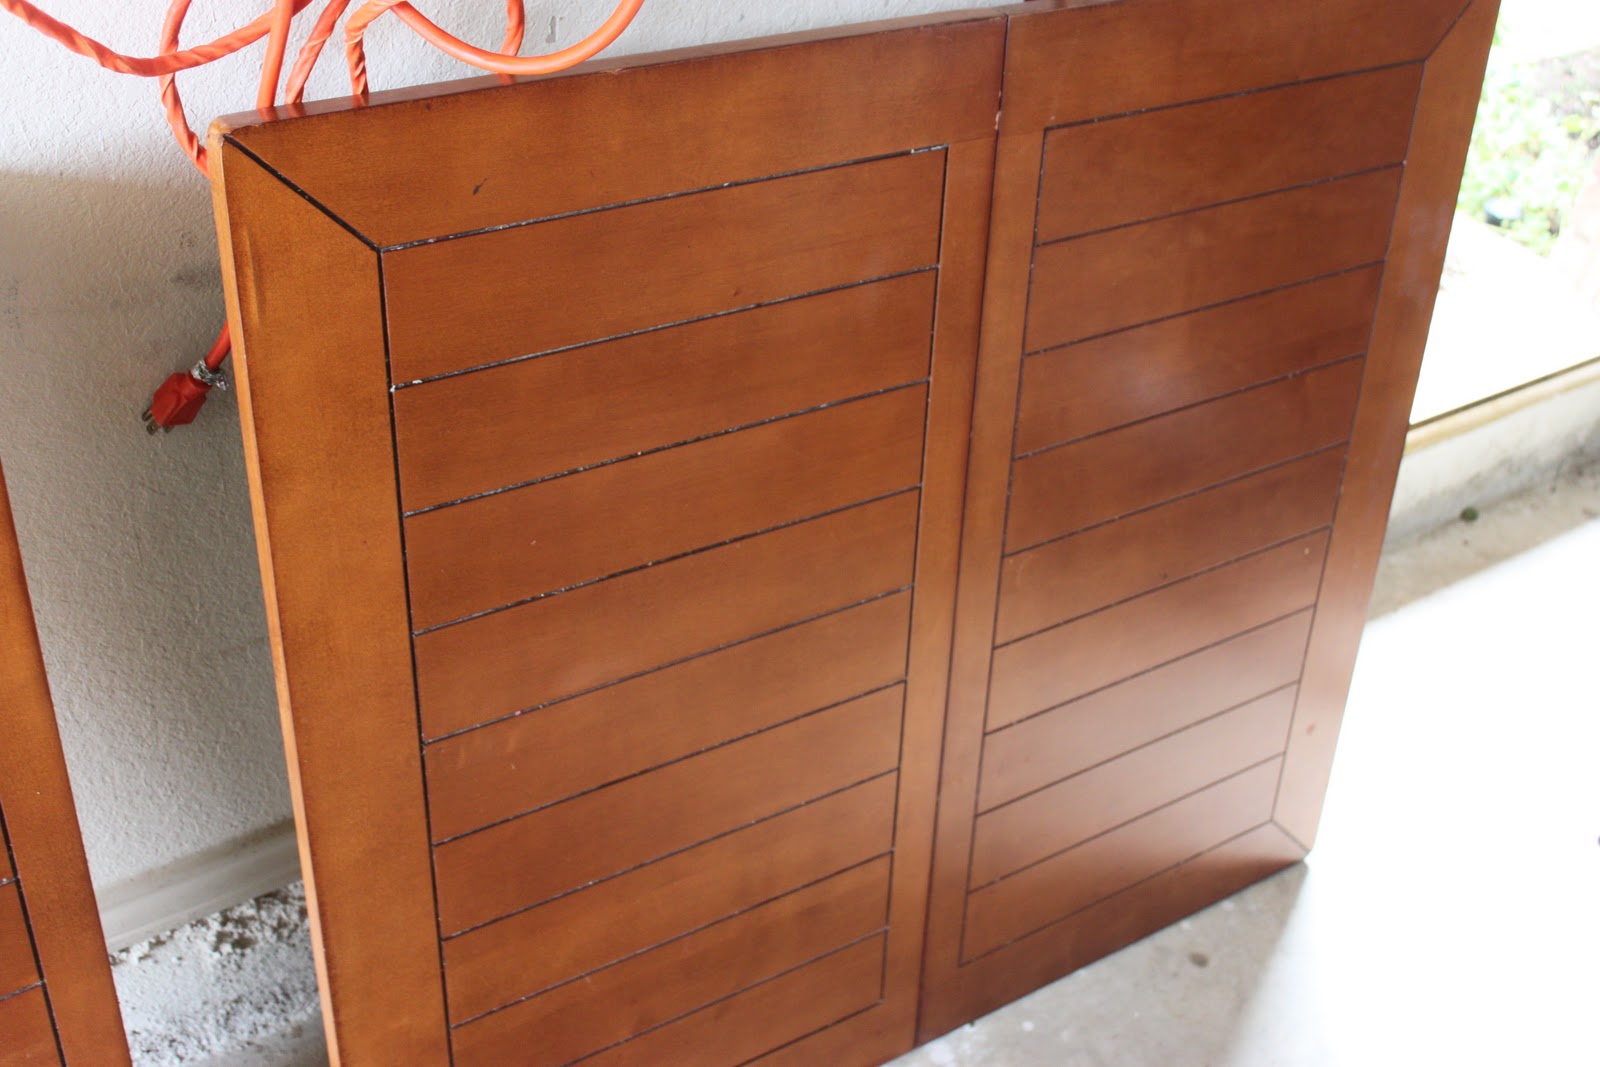
Here's the table before:
It's the basic butcher block wood color with painted white legs with chairs to match. It had to go! But not to the curb.
So. I let my new obsession go to my head. Pinterest has a LOT of neat ideas and creative tutorials. So off I go to my local home improvement store to make the second table look a lot more pleasing to the eye and go with the color scheme.
I bought some liquid sander, stain and spray paint. Off to work I go. I started with the table first. Wiping on the liquid sander and shortly after, wiping off. At first I got the plain liquid stain. It doesn't give you much time to work with. I had some gel stain leftover from when we had our kitchen cabinets stained and that's a lot better to work with.
It was actually a little bit fun! I sanded with a fine grit sand paper between two layers of stain. I used a flat enamel spray paint for the bottom part of the table and legs. I did put a thin coat of polyurethane on the top of the table just to keep it as nice as I can for a kitchen table.
I was a little bit nervous about doing the chairs. The best thing I could think to do was to spray paint the legs first. I just propped them on top of my garbage can and sprayed away. I worked my way up from there. Next I stained the seat.
I took Hubby's bike down from the ceiling and hung the chairs upside down to avoid getting too much paint on the seat part. Thank God it was a very windy day when I did this!
This project maybe cost around $100. That's a lot better on the checkbook than a whole new furniture set. It's not perfect, but I'm very happy with it.


Wow! Those look great. If I come compliment them in person, will you feed me? :)
ReplyDelete